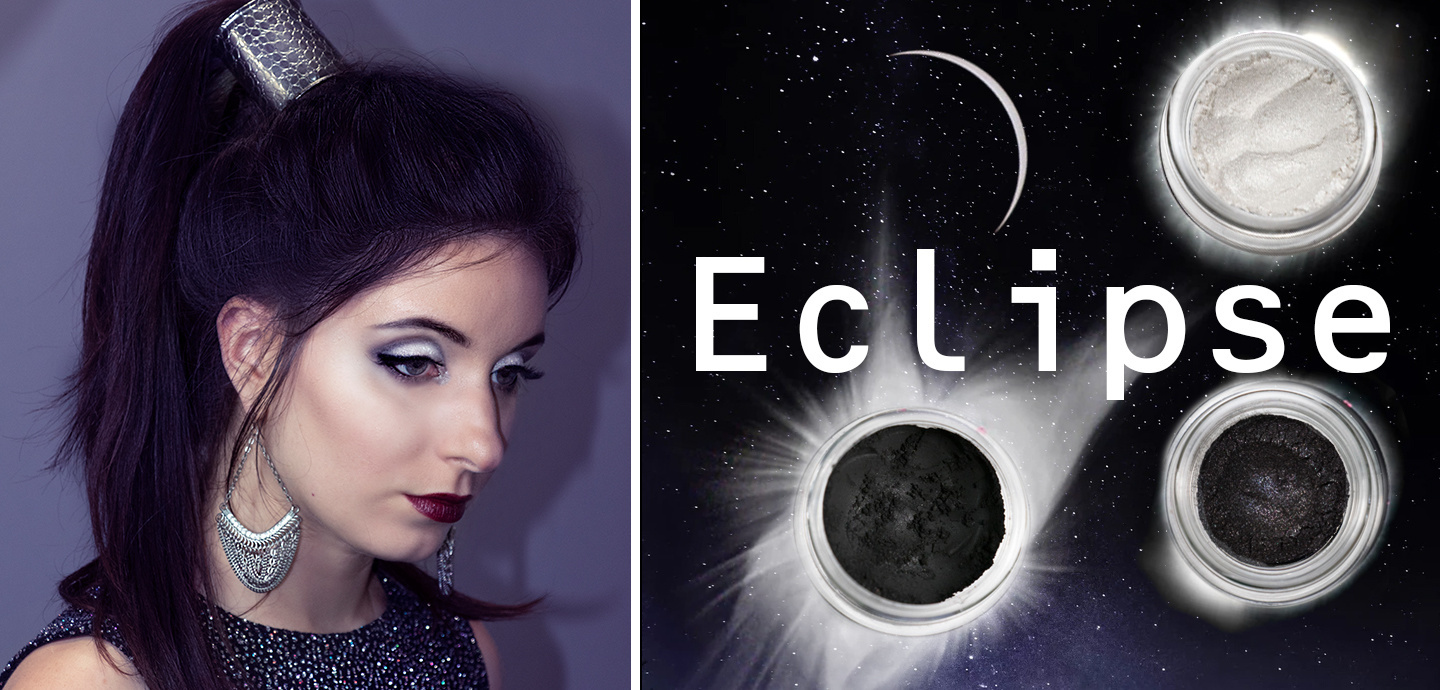
Eclipse
- Posted on
- By Elea Wright
- Posted in makeup tips, Smokey Eye
- 0
The great smokey eye can be a source of frustration, but it doesn't have to be. We hope that you can learn some tricks, and also fall in love with these amazing new colors we created JUST for a beautiful smokey glow. If you need help deciding what to do with your eye shape, send us a close up photo of your eye.
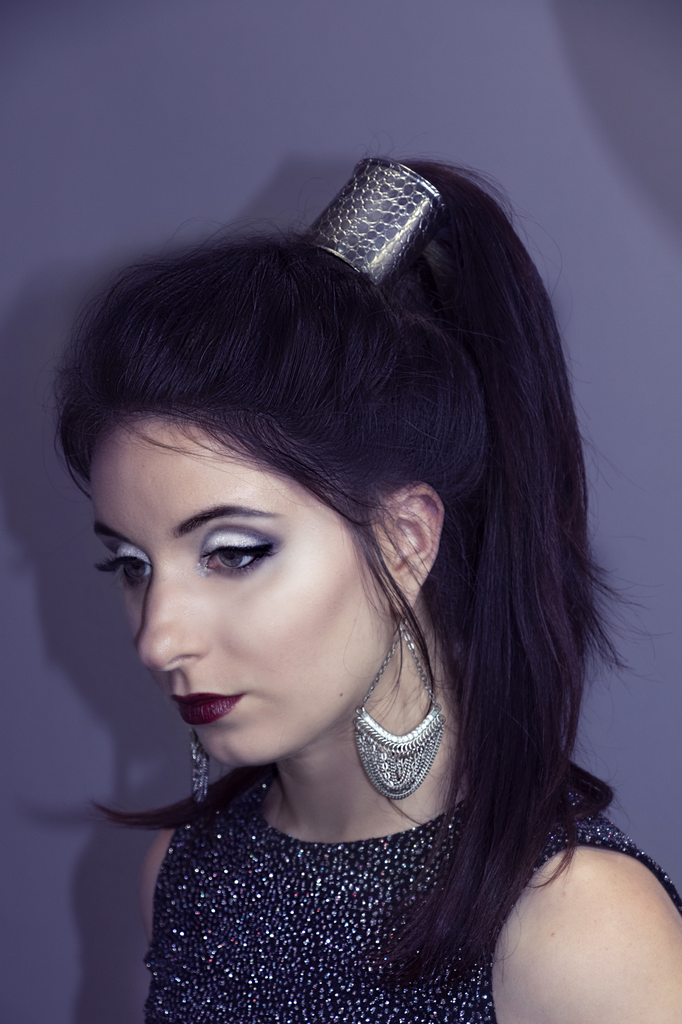
Blake is seen here sporting her smokey eye. You can see she went with a metallic look. Her dress is similar in feeling to one of our new colors Forthright. Forthright is a great go to for your smokey eye if ultra deep colors are a bit too much on you. Instead of using the really deep black Bold for your smoke, I would definitely recommend Forthright as your crease color. However, we are getting a little ahead.
STEP 1 : ALL OVER COLOR OBLIGING
Obliging is a new color that we made to marry the beauty of matte with the sultriness of shimmer. Our previous 'white' shimmer was too glittery looking for people who have creased lids. Our other 'white', Pure, was not shimmery enough to give that perfectly hydrated look. The other secret ingredient we put in was something to make the color not look so starkly white. We wanted this color to work for people who were on all ends of the spectrum.
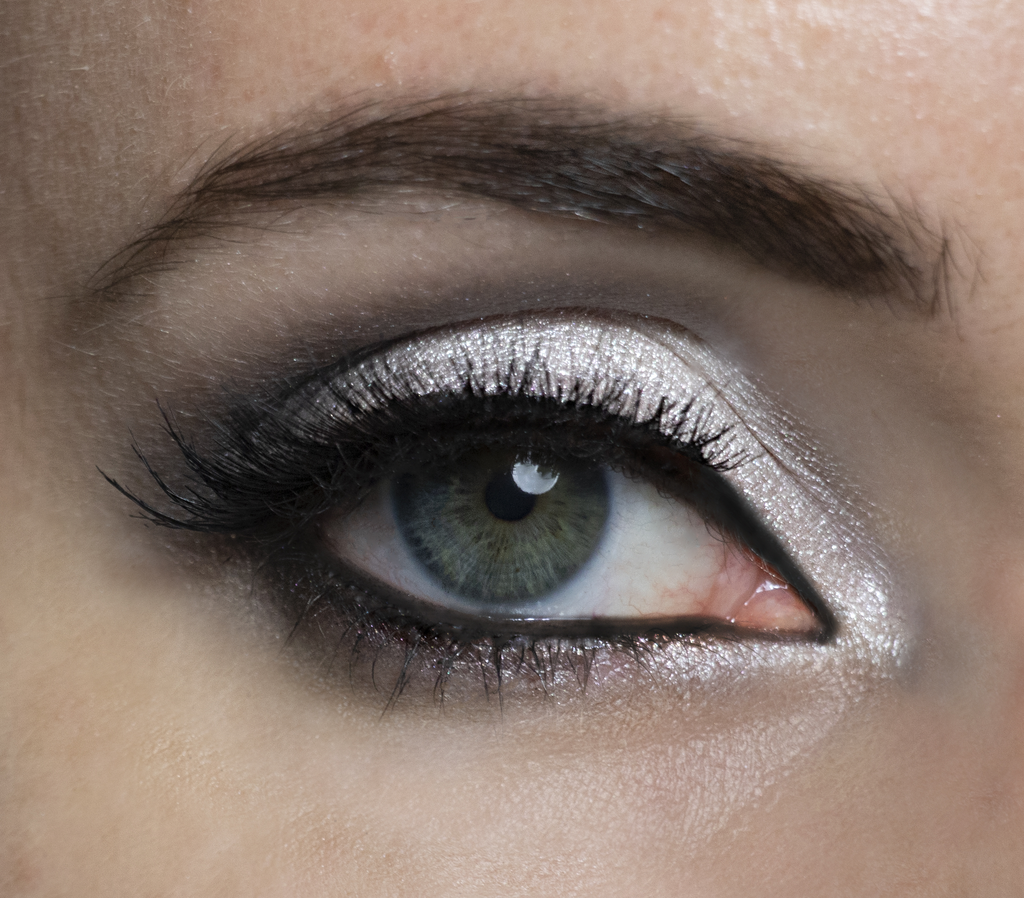
Whether you are milky white or have deep pigmentation, this is a wonderful all over eye color option for you. Apply this color all over. If you want it to look ultra shimmery use a harder brush and pat in the inner corner of your eye for added dimension. Because Blake has eyes spaced on the closer side than further away, I focused her highlight in the center of her eye to draw attention to her beautiful eye color. I also took a little of the color on the bottom part of her eye, but you may want to wait on this until you line your eyes. At this point you should look a little ghosty, don't panic.
STEP 2 : SMOKE
This is my favorite step, but also one of the more frustrating steps for people. You'll want a brush like Prize Fighter for this step because you only want little crumbs to start with. Knowing your eye shape is important here. If you have a defined bone or crease, it is easy to know where you will end. Lay the brush on its side and swipe outwards. If you get a little carried away, no worries, we can fix that later. You want to make sure that you follow an angled swoop upwards and don't go further out than your brow line. See the image below for a general area.
OTHER CONSIDERATIONS
- If between your eyes is less than an eye length apart, add some drama to the outer ‘v’ with a bit more depth. If not, SKIP
- If your eyes are further away than an eye length try using a lighter color on the inner ‘v’ of the eye. If not, SKIP
- If you have hooded eyes, use a lighter color (natural tones) than your skin on the edge that you see to blend out the Forthright color.

STEP 3 : LINE
Liner is the absolute hardest part for a lot of people, but it doesn't have to be. With a brush like Walk the Line, you'll find that it is MUCH easier to get a tight line and also less painful. Use Bold to line your eyes. You can apply dry like I did for the bottom line (I find it to be super eye friendly and also longer lasting) or you can use iline for a gel dark line. Personally, I use dry, but for people who have really oily lids, you may want to use iline on the top and also make sure you use eye primer.
To get the appropriate line for your eye shape, you need to follow your lower lash line and create an invisible line to the end of your brows. How far out you go depends on where your crease is. I personally have my crease fall close so I can't go out too far. Remember that your line is like an imaginary lash. You may even want to apply mascara or false lashes at this point so that it is easier to figure out. This is a trial and error period. Feel free to send us photos of your eyes for advice.

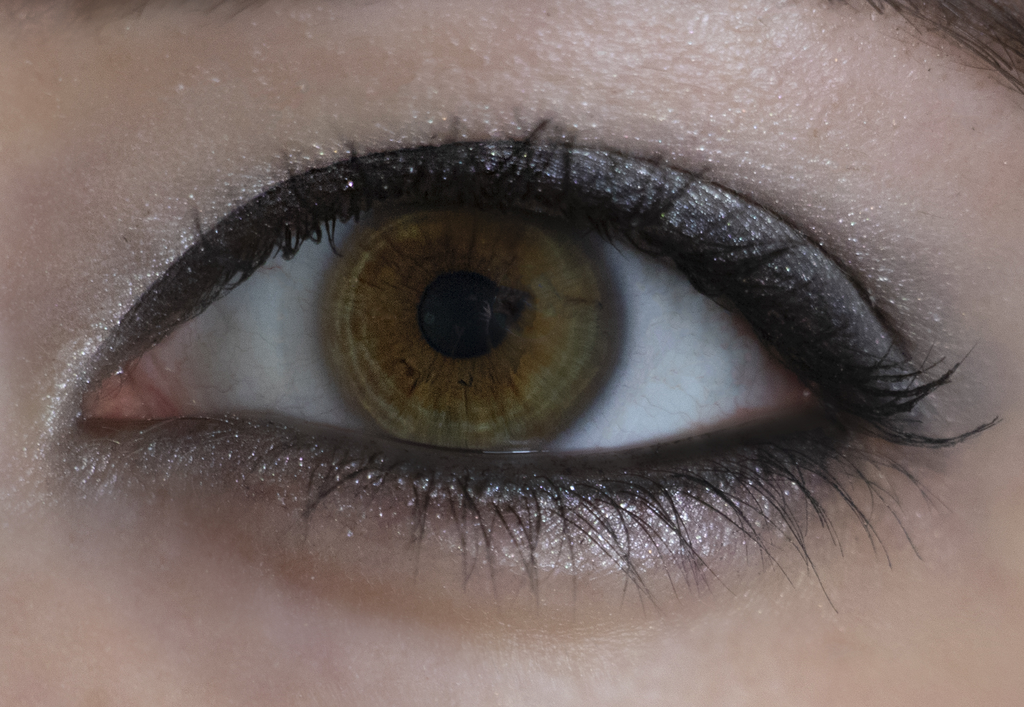
We had Gabrielle do a look with the same colors but for her eye shape. She went for a more every day application. These colors can be played around with.
STEP 4 : FINISHING
Once you've done all these steps and added mascara, add a little drama to the lower lash by using Forthright to marry the smokey look. Also use a little of Obliging to highlight how stunning your eye is. If you applied your line dry you can always smoke it up for a more 'smudgey' looking line. Something that is great for a more casual look.
Comments
Be the first to comment...